- About MTN
Would you like to stay up to date on the latest MTN world news? Products, graffiti, murals, festivals, art and much more.
Return 4 Foolproof Tricks to Paint a Bicycle
Spray painting a bicycle is one of the most effective projects out there, whether it be a renovation, customization, or restoration. And, once again, the spray can becomes the right painting tool for the job. Can you imagine how tedious it would be to have to paint a bicycle frame using a brush? Or a result with bristle marks in the paint?
However, even if the spray can is the perfect format in which to paint a bicycle frame, several tricks to keep in mind can spark the difference between a perfect result and a botched job. So here are our tips for spray painting a bicycle, which serve to point out common mistakes to avoid when painting these items.
PROPER CLEANING IS ESSENTIAL FOR A PERFECT JOB
When it comes to the preparation for spray painting a bicycle, an essential step, and one that is most easily forgotten, is the preparation of the surface; and in particular its cleanliness, which will definitely affect the level of grip of the paint to be applied. We can differentiate 3 types of cleaning depending on the involvement you want to put into the project:
-Surface cleaning, in which dust and dirt will be removed, which can be done with MTN PRO Ethyl Alcohol 70% or MTN PRO Solvent.
-Sticker cleaning, for which we will need a dryer to remove the adhesive and MTN PRO Solvent to remove it.
-Paint cleaning, the most professional of the options and for which we will need MTN PRO Paint Stripper.

THE BETTER YOU PROTECT, THE MORE PROFESSIONAL THE RESULT WILL BE
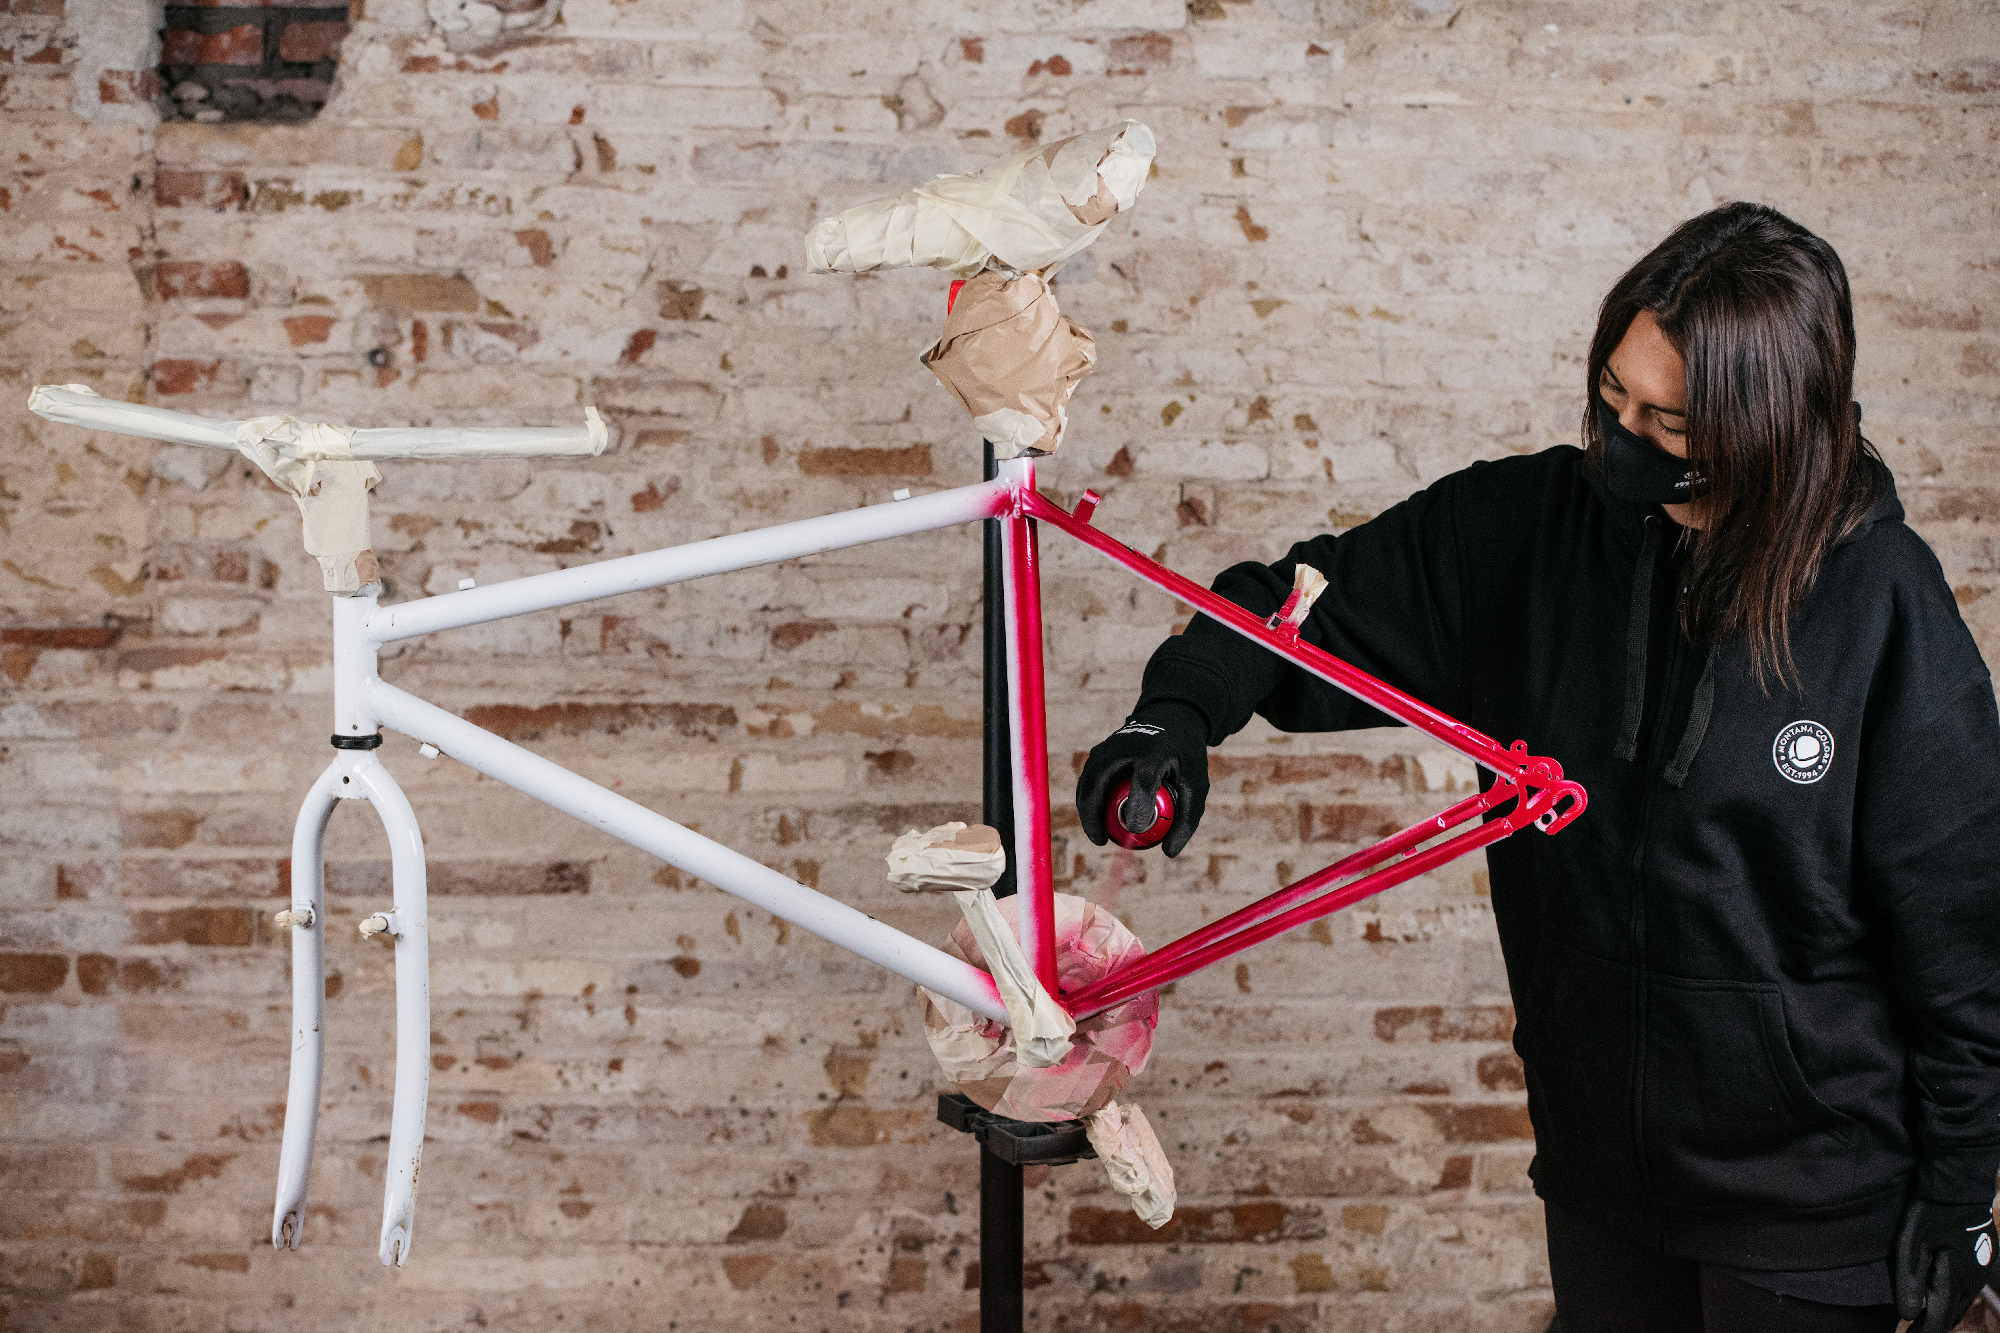
Protecting the parts that we do not want to paint is a process that usually we can’t be bothered with, but the better we do it, the more satisfaction we will get from the result and the more professional it will look.
THE THIN COAT RULE
Generally, when we are painting objects, we must use the spray can differently than we would when painting graffiti. If you are not a writer you will not have this problem, only we must remind you that, in almost all cases, it is always better to apply thin coats rather than one thick one. This advice is valid for primers as well as for paints and clear coats, since with this technique we will avoid paint sagging and the appearance of drops.
BE SCRUPULOUS WITH THE DRYING OF THE COATINGS
Understanding the drying times of each type of paint is essential to avoid the risk of an unforeseen reaction from recoating.
Generally, we recommend that the recoating, either with the same paint or with a clear coat, should be done in a time interval ranging from 10 to 30 minutes.
It is important to take into account that the drying of solvent-based paints is quite peculiar, so we do not recommend recoating if more than 2 hours have passed, until after several days.
Remember not to touch anything until the project has dried completely and not to do this type of work in a place where there may be environmental or windblown dirt.
CHOOSE THE RIGHT CLEAR COAT
Regarding how to protect a bicycle’s paint after spray painting, we recommend using MTN PRO Acrylic Varnish, in the finish of your choice: glossy, satin or matte.
With these tips we can only offer you the best tools to achieve a professional finish when spray painting a bicycle. It's up to you to choose the colors.
ShareApril 09, 2024
