- About MTN
Would you like to stay up to date on the latest MTN world news? Products, graffiti, murals, festivals, art and much more.
Return Tips for Using MTN 94 Graphic Markers
MTN 94 Graphic Markers are Montana Colors' alcohol-based markers, specially designed for painting on paper or cardboard, offering a range of 72 colors. Each of these drawing markers has two types of tips: a 0.5 mm fine tip on one end and a 7 mm beveled tip on the other.
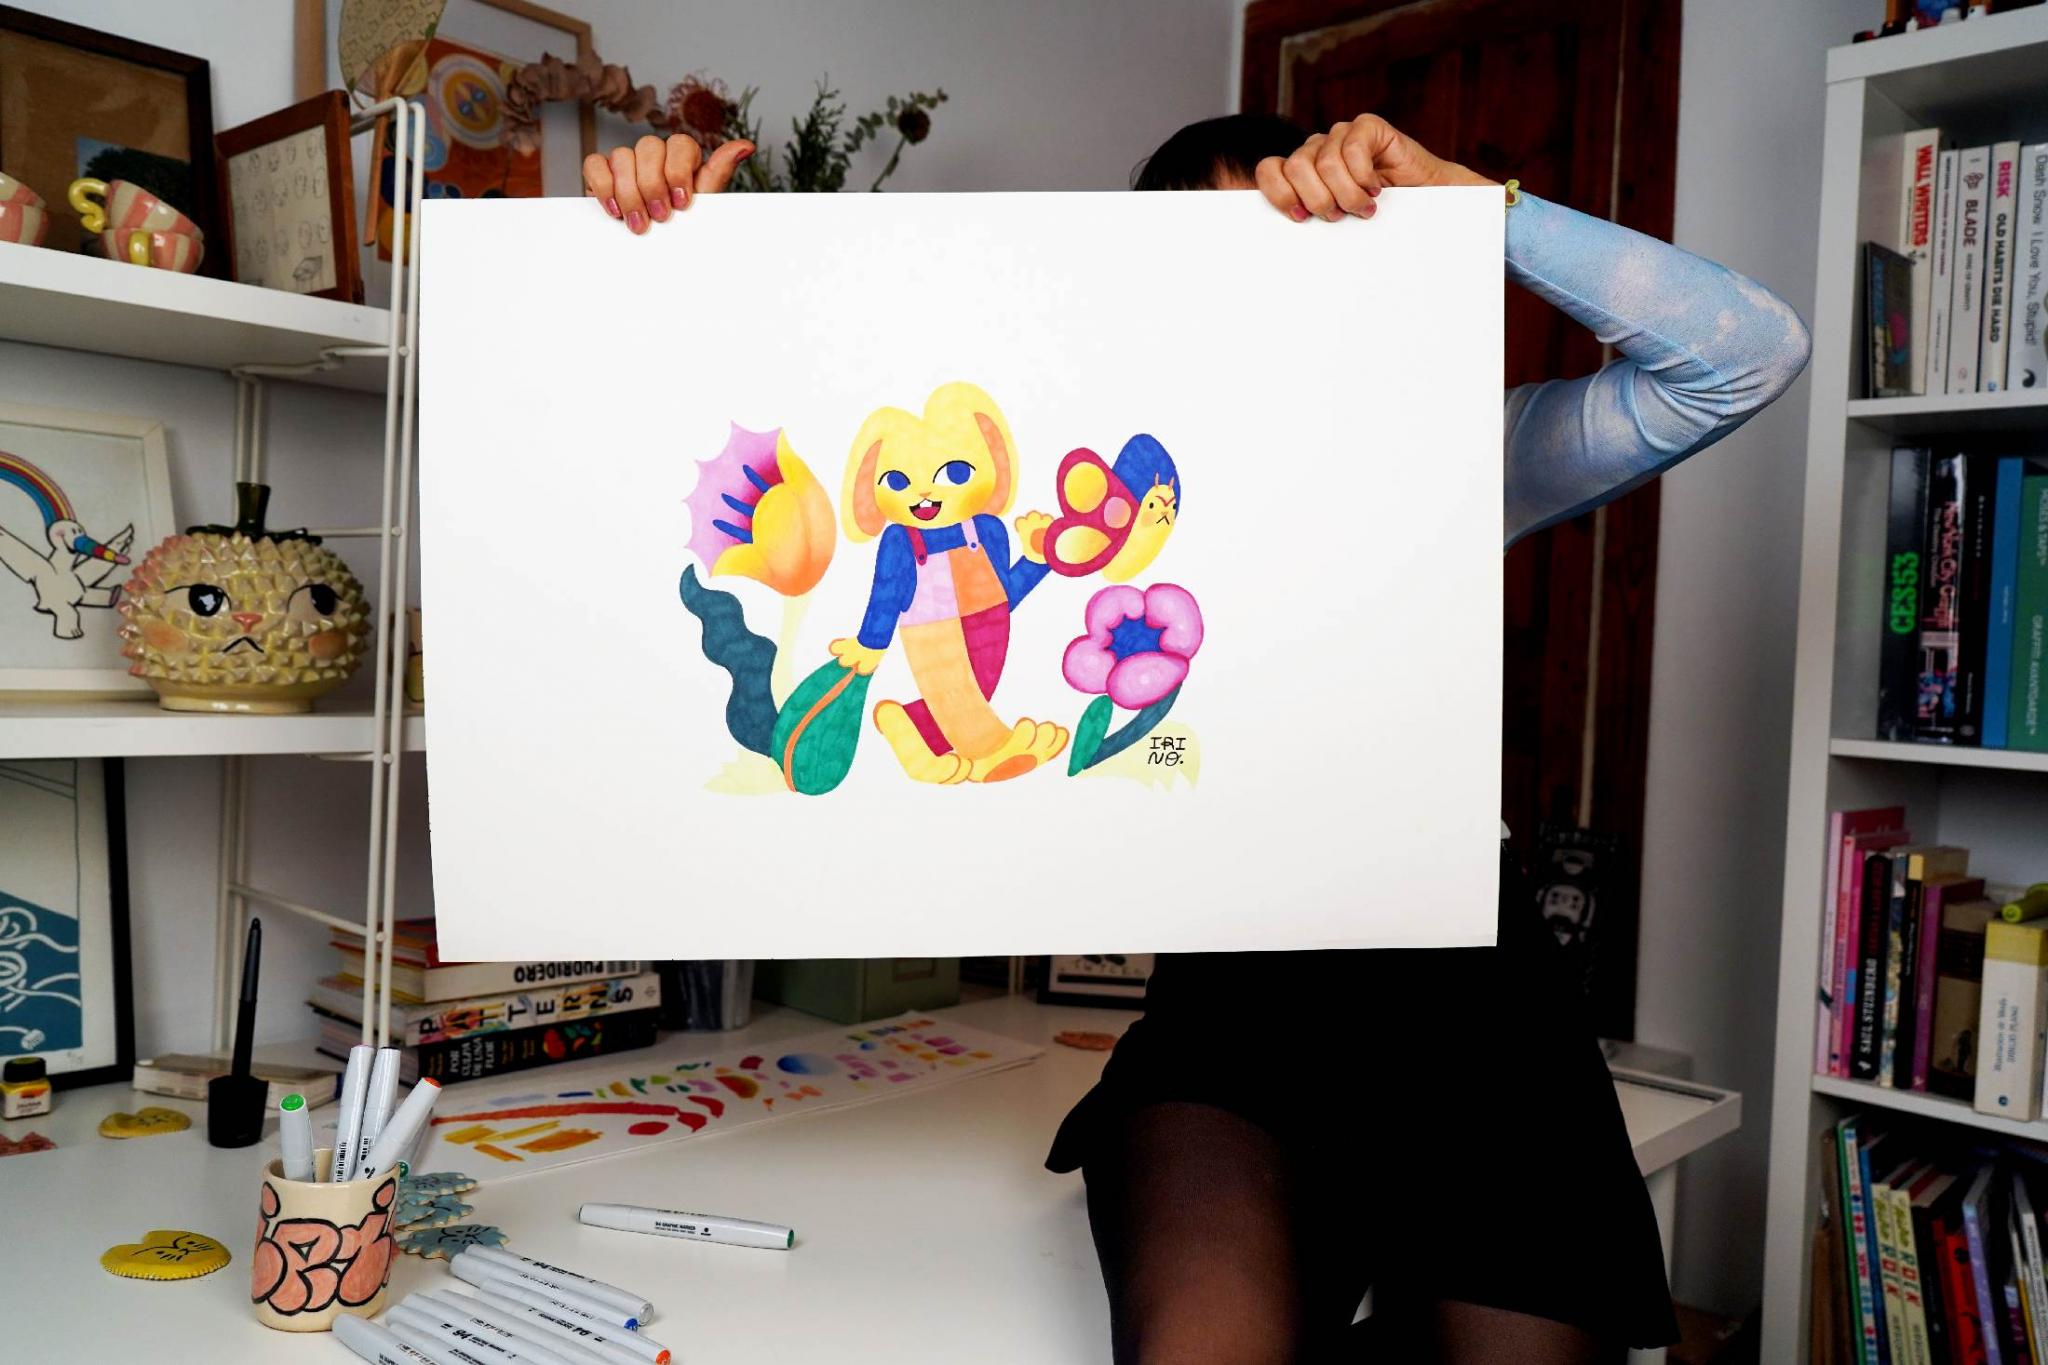
Irina Slimobich's adorable characters, captured on walls and ceramics, are transferred to paper thanks to MTN 94 Graphic Markers. Aren't they cute?

WHAT ARE THE CHARACTERISTICS OF ALCOHOL-BASED MARKERS?
Basically, these markers are designed for making sketches and illustrations on white paper. Here are some basic features, in case you didn't know about these tools:
Color mixing
As they are translucent colors, they can be mixed with each other and even blended.
Two thicknesses
The double-ended markers allow you to paint using two thickness options. This allows us to adapt to different sizes and drawing speeds.
Great value for money
In the alcohol marker market there are different qualities, from the most expensive to the cheapest markers. MTN 94 Graphic Markers offer probably the best value for money you will find on the market.
Tones equivalent to MTN 04
The 72 colors of the MTN 94 Graphic Markers are inspired by some of the shades of the MTN 94 spray palette. Were you thinking the name was a coincidence?

ADVICE ON HOW TO USE MTN 94 GRAPHIC MARKERS
- To avoid surprises, check the exact shade of each color. The indicator on the lid is for guidance only and, being made of colored plastic, it cannot exactly reproduce the shade of the ink.
- Use a piece of paper under the sheet to avoid stains where they’re not wanted. Since it is an alcohol-based paint, it easily penetrates between the fibers of the paper, so if it is a light-weight sheet, the ink will penetrate. By placing a paper underneath you will avoid leaving marks on the table or the following sheets of the sketchbook. On heavyweight paper this will not be necessary, but we recommend that you check beforehand.
- Leave the outlines of the drawing until the end. If you are going to outline the drawing with black or a dark color, do it at the end of the process. This will prevent the outline from losing definition.
- Blend the colors by joining the tips together. Take two different colors and join their tips vertically for a few seconds, one on top of the other. The tip of the marker placed on the lower part will pick up ink from the upper one. With this, as you paint, the added color will degrade towards the original tone of the marker itself, with a speed proportional to the contact period.
*Pay attention: during the contact periodit is always better to put the light color on top so that the other color can easily recover its original tone.
- You can use the "blender" marker to give clarity to some areas, or to blur boundaries between one color and another.
- Remember to put the lid on each marker as soon as you have finished using it. This way you will avoid, on the one hand, that the tip dries up, and on the other, you will avoid losing or confusing the lids with other colors.
- Some types of paper may accumulate lint on the fine ends. Use a tissue or napkin to remove it.
Here we have left you all the fundamental information that will help you to use these products in an optimal way. But the most important thing is that you experiment with them, the possibilities are endless and it just depends on your creativity, don't forget it!
 ShareDecember 12, 2023
